
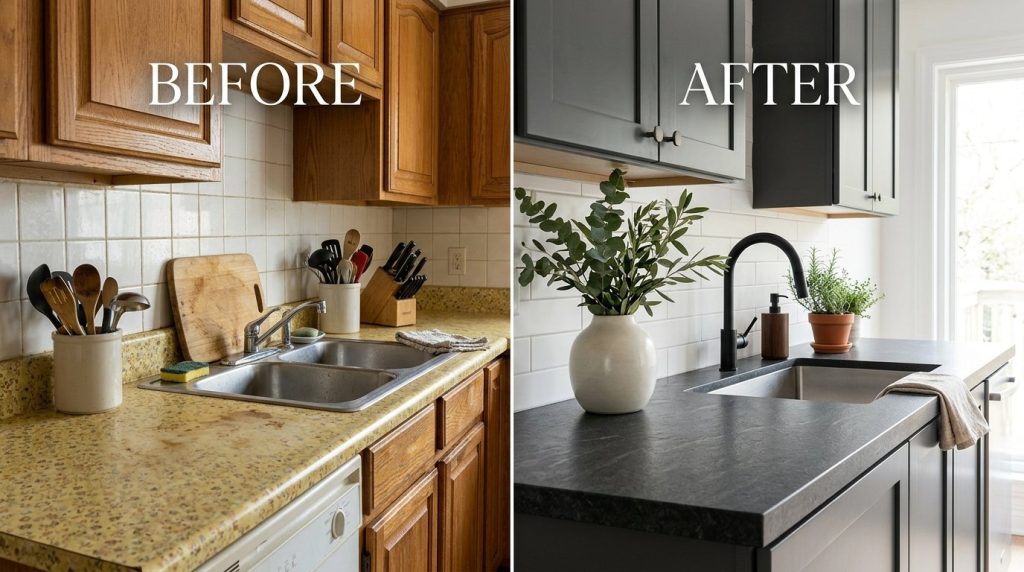
Last October, I helped a friend renovate a rental kitchen with a total budget of only $500. We faced a stained laminate surface that looked like it hadn’t been cleaned since 1994. Replacing the slab with granite would have cost $2,400 just for the materials and labor. Instead, we spent $85 on a specialized coating and three hours of work. The transformation was so jarring that the landlord actually asked if we had installed new stone. If you feel stuck with an ugly kitchen because of high contractor quotes, you are not alone. Most people assume a beautiful surface requires a massive bank account and professional installers.
In this guide, you will find specific ways to upgrade your space without the heavy price tag. I cover 23 different low-cost kitchen countertop ideas that range from quick weekend DIYs to clever material sourcing strategies. You will see how to use remnants, unconventional materials like microcement, and modern coatings to get a luxury feel. I have included exact cost breakdowns and time estimates for every project. This article focuses on durable, practical solutions while intentionally skipping high-maintenance trends that don’t last. By the end, you will have a clear plan to transform your kitchen for a fraction of the usual cost.
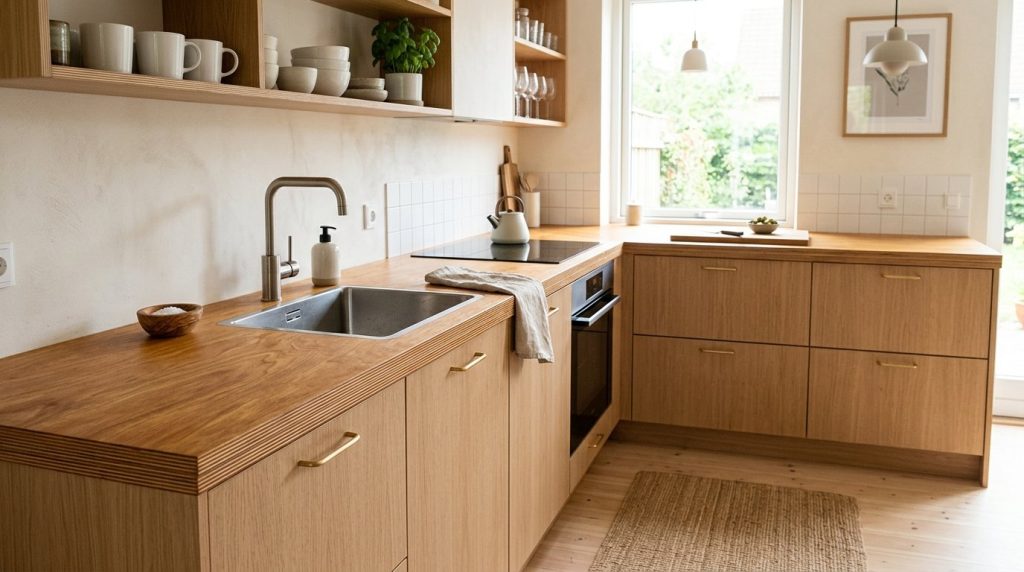
1. Butcher Block Scraps

Using smaller butcher block pieces is a brilliant way to save on timber costs. I recently saw a kitchen where the owner used offcuts from a local woodworker to create a patterned surface for under $150. You can source these scraps from cabinet shops or even the “damaged” section of big-box hardware stores. The key is to sand them heavily and use a food-safe mineral oil to bring out the natural grain. This approach adds warmth and a professional chef’s kitchen vibe immediately.
One practical action is to call local millworks rather than buying pre-cut slabs. Most shops have “shorts” they sell for 70% off the retail price. It usually takes about four hours of sanding and sealing to get a smooth finish. A common mistake is using standard wood glue that isn’t water-resistant. Always use Type III waterproof glue to ensure the seams don’t split when you wipe down the counters.
2. Peel-and-Stick Granite
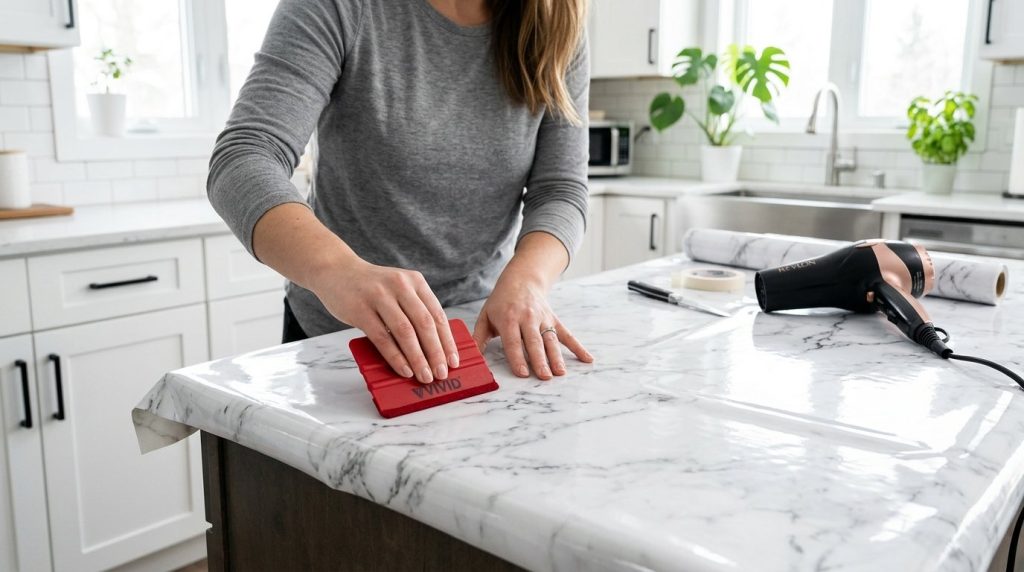
Vinyl film has come a long way from the bubbly contact paper of the past. Modern architectural films like those from EZ Faux Decor or Luxeray mimic the depth of real stone surprisingly well. I applied a white marble film to a guest house counter two years ago, and it still looks pristine. It provides a quick kitchen countertop design update for less than $100. The gloss finish reflects light and makes a small, dark kitchen feel significantly larger.
To get the best results, use a hair dryer to stretch the vinyl around the edges for a seamless look. This project takes about two hours for an average-sized kitchen. Many people skip the cleaning step, but you must scrub the old surface with TSP or a heavy degreaser first. If any oil remains, the adhesive will fail within weeks. Note that while heat-resistant, you should still always use a trivet to avoid melting the plastic film.
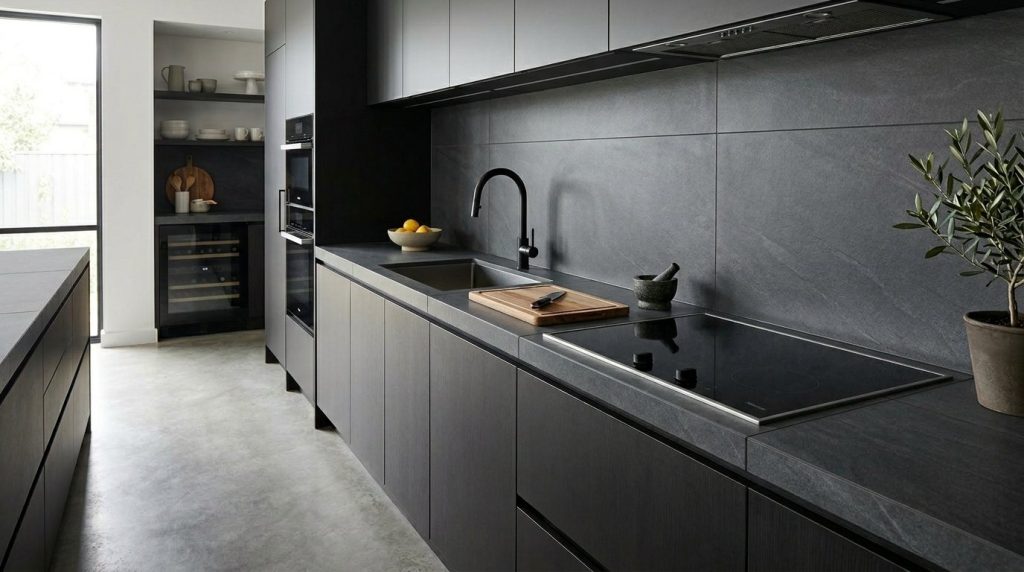
3. Poured Concrete Finish
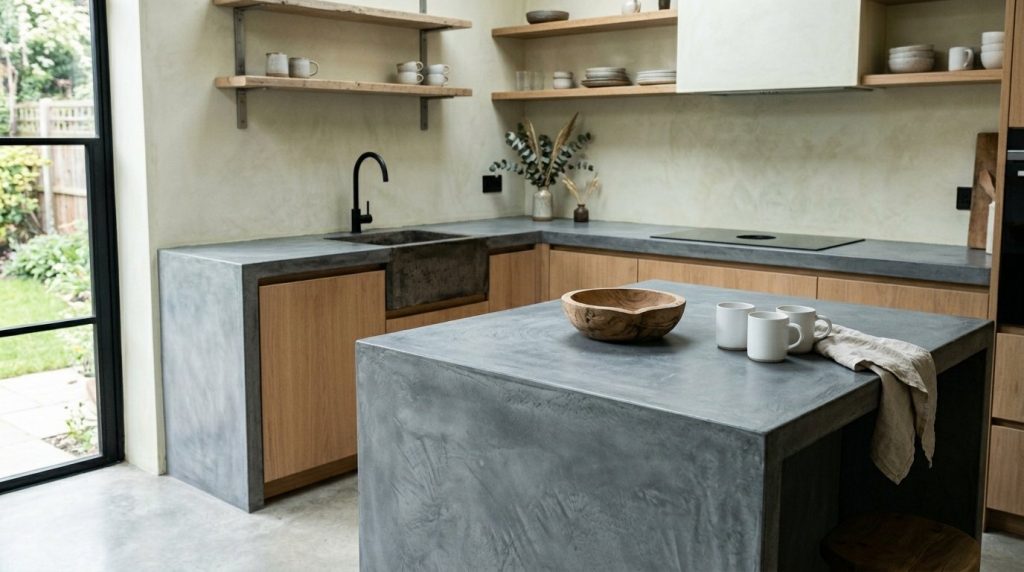
Concrete provides an industrial, high-end aesthetic that fits perfectly in modern farmhouses. Instead of a full slab, you can apply a thin layer of feather-finish concrete over your existing laminate. I used Ardex Feather Finish on a project last summer, and the total cost for the bags of mix was only $60. It creates a matte, stony texture that feels incredibly solid under your hands. It is one of the most effective kitchen countertops ideas for those who want a custom, artisanal look.
Your immediate action should be to buy a high-quality concrete sealer; the finish is only as good as the protection. Expect this to be a three-day project because each layer needs time to dry and be sanded. A common contrarian view is that concrete is “too heavy” for old cabinets, but this thin-coat method adds negligible weight. Don’t worry about minor imperfections or “chatter marks” from the trowel, as they add to the authentic stone character.
4. Painted Faux Marble
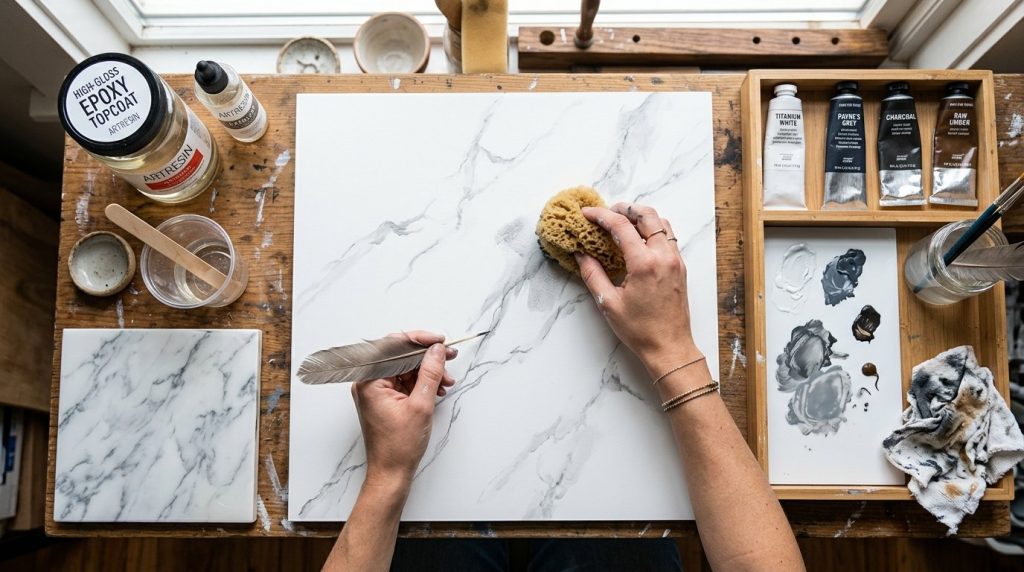
You can achieve the look of Carrara marble using nothing but a sponge and three shades of grey paint. Specialized kits like Giani Marble provide all the tools, but you can also DIY it with acrylics and a high-quality epoxy topcoat. I’ve seen this work beautifully on island counters where the owner wanted a focal point. This kitchen countertop styling technique costs about $120 and completely hides old, burnt laminate or outdated tile patterns.
The most important step is the “veining” process—use a feather or a thin brush to create soft, organic lines. Total work time is roughly six hours, spread over two days. Many beginners make the veins too straight or symmetrical, which looks fake. Study a real piece of marble and try to mimic the random, flowing patterns found in nature. Always finish with a two-part epoxy to ensure the surface is hard enough to resist scratches.
5. Reclaimed Wood Planks
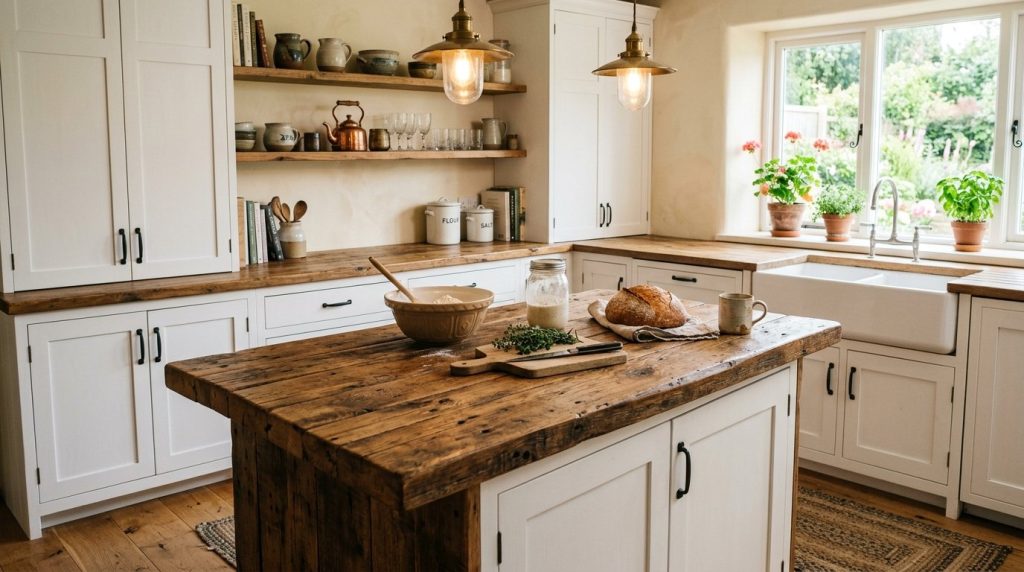
Old floorboards or barn wood can be planed down and glued to a plywood base to create a stunning rustic surface. A friend of mine used old oak flooring salvaged from a renovation, and the only cost was the sealant. This adds a level of history and texture that brand-new materials simply cannot match. It’s an excellent choice for kitchen countertop decor ideas that prioritize sustainability and character over a sterile, modern look.
Look for wood that is at least 3/4 inch thick to prevent warping. You will need a weekend to plane, sand, and seal the boards properly. A major mistake is not checking for old nails with a magnet before you start sanding. This can ruin your equipment in seconds. While beautiful, wood requires annual re-oiling to keep it from drying out in high-heat areas near the stove.
6. Large Format Tiles
Traditional small tiles have too many grout lines, but large-format porcelain tiles can look like a solid stone slab. You can find 24×48-inch tiles that cover a large area with minimal seams. I once helped a neighbor install dark slate-look tiles on their counters for roughly $200 in materials. Using a matching grout color makes the seams almost invisible, giving the illusion of an expensive, custom-cut stone.
To start, ensure your existing counter is perfectly level before thin-setting the tiles. Installation takes about six to eight hours, plus drying time. Some pros argue that tile is prone to cracking, but if you use a cement backer board, it is incredibly durable. Avoid using white grout in a kitchen as it stains instantly with coffee or wine; go for a medium grey or charcoal instead.
7. Penny Tile Mosaic
For a whimsical or vintage look, penny tiles are a budget-friendly option that adds a lot of visual interest. Copper or white porcelain penny tiles can be found for under $10 per square foot. In my experience, these are great for coffee stations or small bar areas where you want a “wow” factor. The texture is unique and provides a great backdrop for kitchen countertop arrangement of canisters and scales.
Use an epoxy grout with these tiles to ensure the surface is easy to clean and stain-resistant. This project is labor-intensive and might take 10 hours because of the intricate grouting. A frequent mistake is not laying out the sheets beforehand, which leads to awkward gaps at the edges. While it looks stunning, the uneven surface can make wine glasses a bit wobbly, so keep a flat cutting board nearby.
8. Epoxied Penny Surfaces

If you want something truly unique, you can glue actual copper pennies to your counter and seal them under a thick layer of clear epoxy. I saw a DIYer do this for a basement bar, and the shimmering copper looked like a million dollars. The materials cost is essentially the value of the pennies plus about $80 for the epoxy resin. It is a conversation starter that fits perfectly into a creative kitchen countertop color ideas palette.
You will need to clean every penny in a vinegar and salt bath to make them shine before gluing. Plan for a full weekend because the epoxy needs a dust-free environment to cure for 24 to 48 hours. Many people think this is “tacky,” but when done with a dark grout and high-gloss finish, it looks like a custom metallic inlay. Be careful with the epoxy pour; if you don’t level the counter first, the resin will pool on one side.
9. Recycled Glass Mix
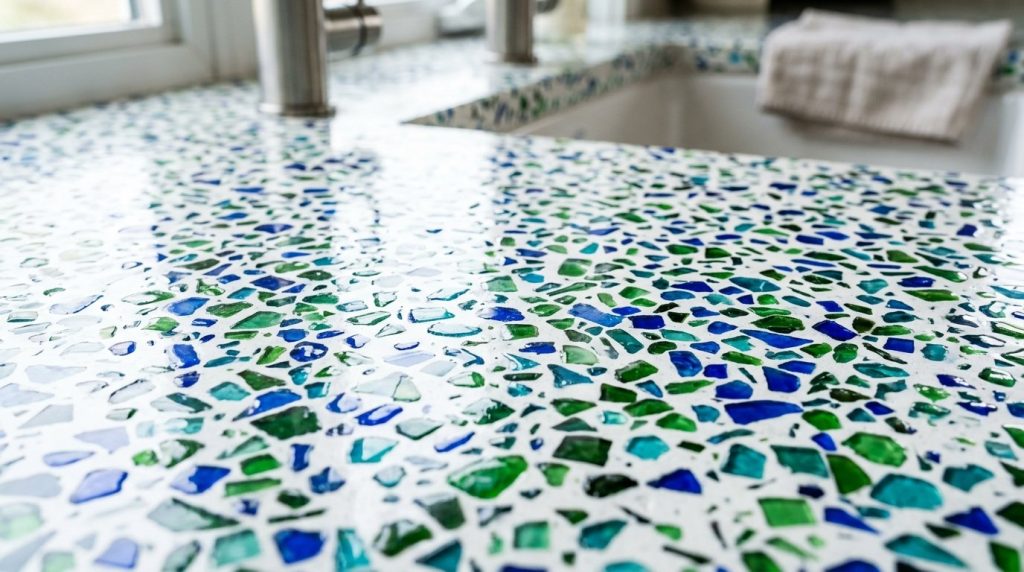
You can create a custom terrazzo look by mixing crushed recycled glass with a concrete or epoxy base. Many glass recycling centers will give away crushed glass for free or a very low price. I’ve seen stunning results using blue and green bottle glass in a white cement matrix. It’s a high-end kitchen countertop design look for the price of a bag of cement and some elbow grease.
Grind the surface down with a diamond sanding pad after the base sets to reveal the beautiful glass chips. This is a messy, wet process that takes about 15 hours of active labor. A common mistake is using glass pieces that are too large, which can pop out during the grinding phase. This surface is incredibly heat-resistant and durable, making it ideal for busy family kitchens.
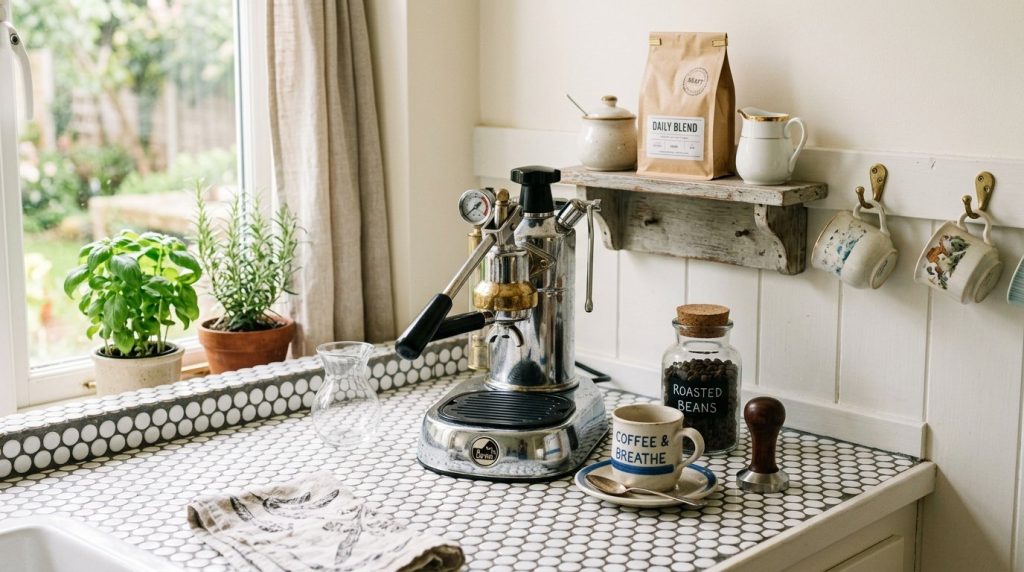
10. Chalkboard Paint Accents
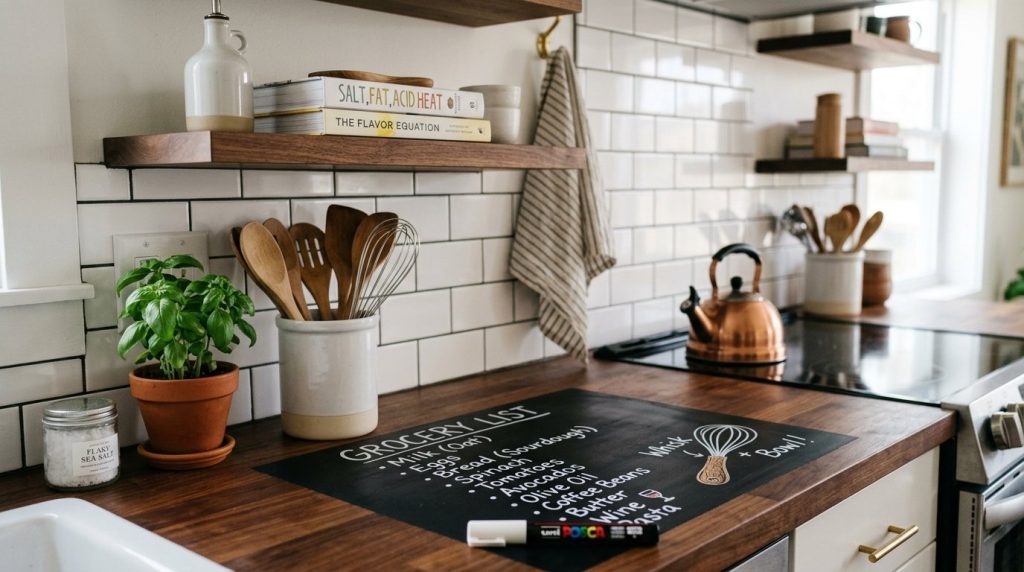
While not for the entire kitchen, using chalkboard paint on a section of counter or a backsplash-integrated ledge is very affordable. A quart of high-quality chalkboard paint costs around $20. It allows you to write grocery lists or recipes directly on the surface. It works well for a casual kitchen countertop styling approach in a busy household with kids.
Apply at least three thin coats and let it cure for several days before writing on it. This is a one-day project that adds instant functionality. Some people find the “chalk dust” annoying, so I recommend using liquid chalk markers instead of traditional sticks. It’s not a permanent stone solution, but it’s a great way to hide a damaged section of old laminate while you save for a bigger upgrade.
11. Stainless Steel Sheets
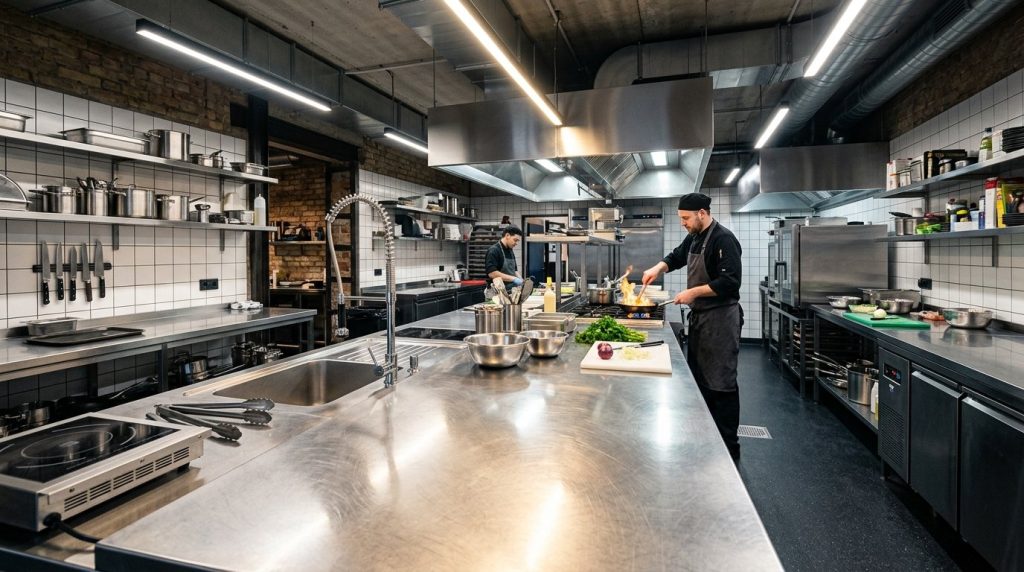
You can buy thin sheets of stainless steel and wrap them over your existing wood or laminate counters for a professional “back-of-house” look. I recently priced out a 4×8 sheet for $180 at a local metal supplier. It is hygienic, heat-proof, and impossible to stain. This is one of the best kitchen countertops ideas for those who do a lot of heavy cooking and want a surface that can take a beating.
Use a heavy-duty construction adhesive and a J-roller to ensure the metal bonds flat without air bubbles. Installation takes about four hours if your cuts are pre-made by the supplier. A common contrarian point is that stainless steel scratches easily. While true, these scratches develop into a “patina” over time that many professional chefs prefer. Avoid using abrasive steel wool for cleaning, as it can create deep, ugly gouges rather than a soft wear pattern.
12. Bamboo Slat Overlay
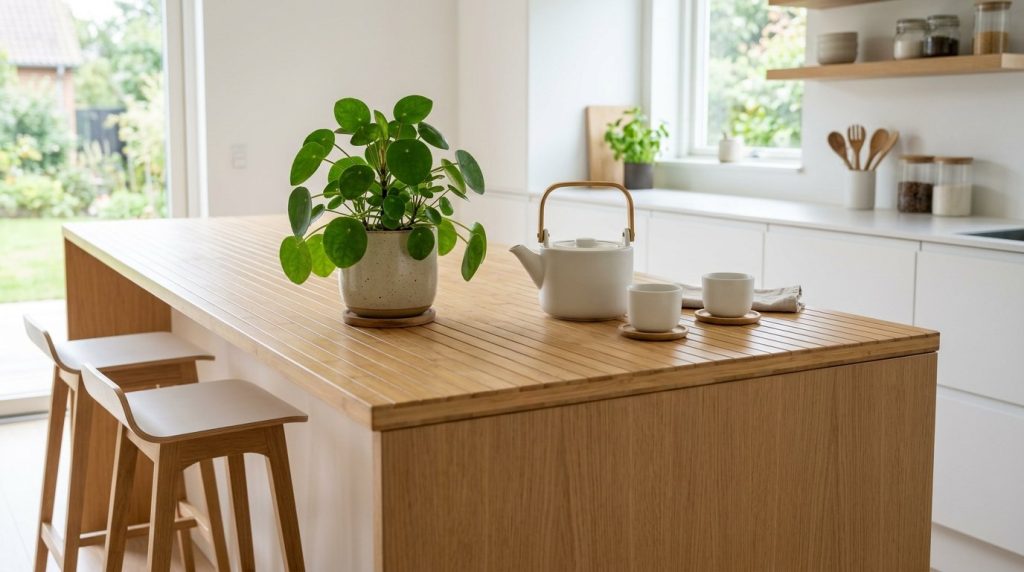
Bamboo is a fast-growing, sustainable material that can be purchased in thin slats or “mats” and glued down. It provides a zen, spa-like feel to the room and is naturally water-resistant. I used bamboo on a small island once, and it cost about $45 for the materials. It’s a great choice for kitchen countertop decor that feels light and airy.
Seal the bamboo with a heavy-duty polyurethane to prevent food particles from getting trapped in the grain. This is a quick five-hour project including the glue drying time. Some critics argue bamboo is too soft, but if you choose “strand-woven” bamboo, it is actually harder than many hardwoods. Ensure you sand the edges perfectly smooth to prevent splinters during daily use.
13. Quartz Remnant Pieces
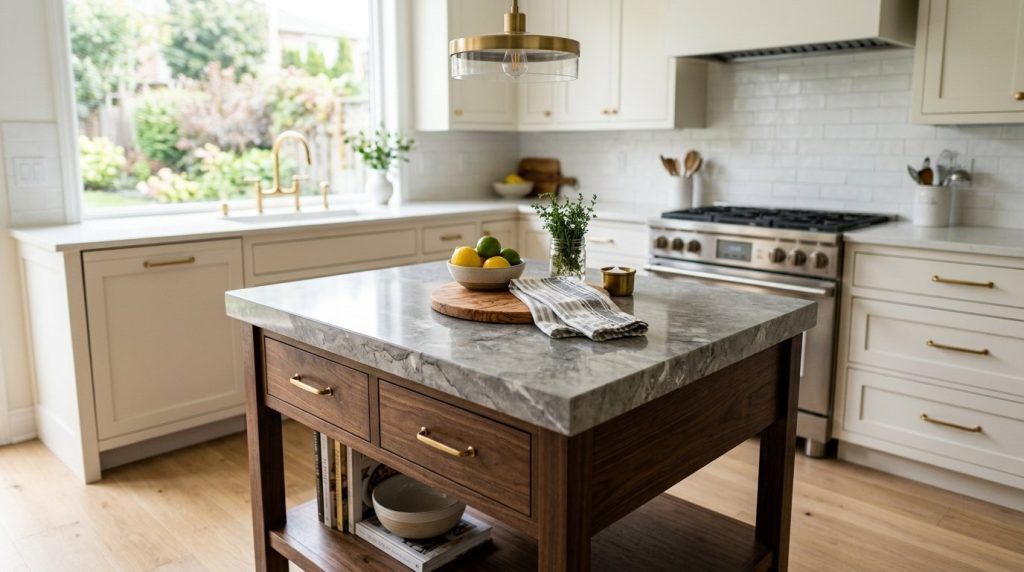
Stone yards often have “remnants”—leftover pieces from larger jobs—that they sell at a massive discount. You can often find a beautiful piece of quartz for $200 to $400 if you are willing to transport it yourself. I found a stunning grey quartz remnant for a small vanity last year that would have cost $1,200 as a full slab. This is a top-tier kitchen countertop design strategy for small kitchens or islands.
Call five different local stone fabricators and ask to see their “bone yard” or remnant pile. You will need a professional to cut it, or a very steady hand with a diamond blade saw. The biggest mistake is not measuring your space before you go; remnants are sold “as is,” so there are no returns. Note that while the stone is cheap, the weight makes it a two-person job to move and install.
14. Polished Limestone Scraps
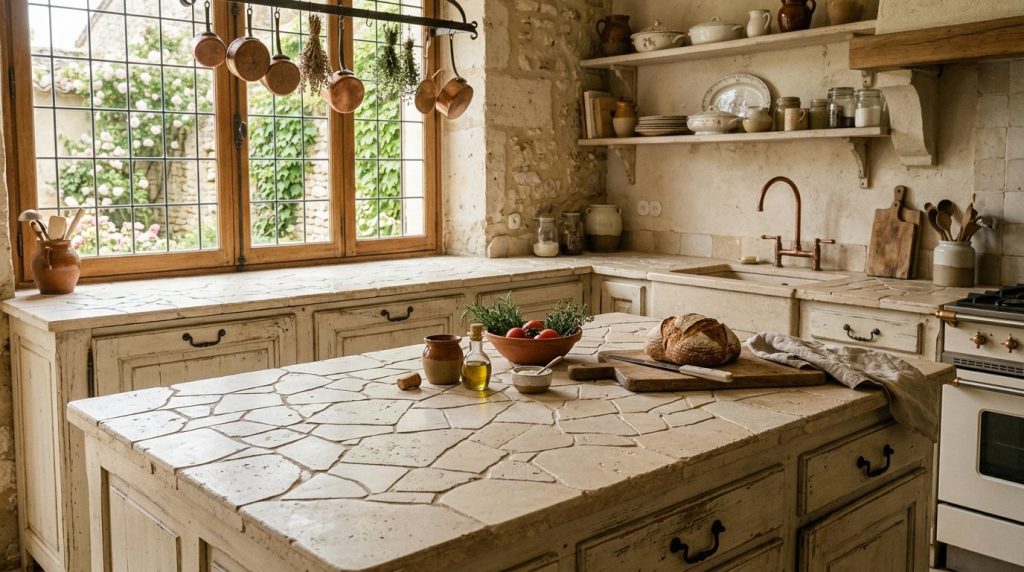
Limestone has a soft, muted look that works perfectly in French country or traditional kitchens. Like quartz, you can find limestone scraps at masonry yards for very little money. I’ve seen beautiful counters made from irregular limestone slabs that were pieced together like a puzzle. This kitchen countertop arrangement creates a unique, handcrafted look that feels very expensive.
Seal the stone immediately with a high-quality impregnating sealer to prevent oil stains. Piecing together scraps takes a full weekend and requires some patience with a tile saw. Some say limestone is too porous for kitchens, but with the right sealer, it holds up remarkably well. Just be sure to avoid acidic cleaners like vinegar or lemon, which can “etch” or dull the surface of the stone.
15. Slate Floor Tiles
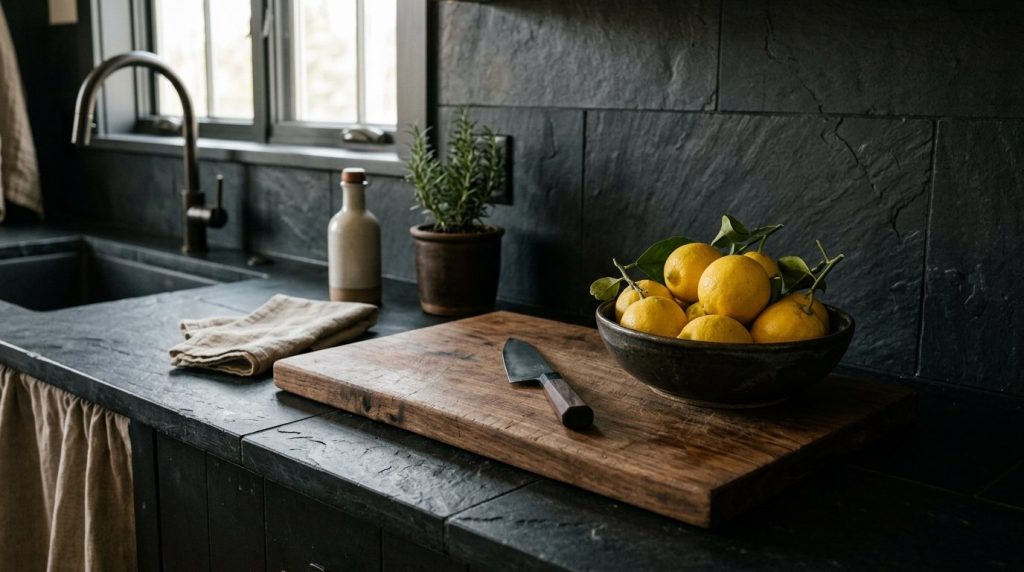
Slate tiles intended for flooring can be used on counters to provide a dark, dramatic surface. Slate is naturally heat-resistant and hides dirt exceptionally well. I installed black slate tiles in a cabin kitchen for under $150 total. The natural cleft texture provides a rustic kitchen countertops decor ideas vibe that is very forgiving of scratches and wear.
Use a dark grout so the lines disappear into the stone. Installation takes about six hours plus a day for the grout to cure. A common mistake is choosing tiles that are too textured, which makes it hard to roll out dough or balance a glass. Look for “honed” slate tiles which are smoother and easier to wipe down. This material stays cool to the touch, making it a favorite for bakers.
16. Sealed Brick Veneer
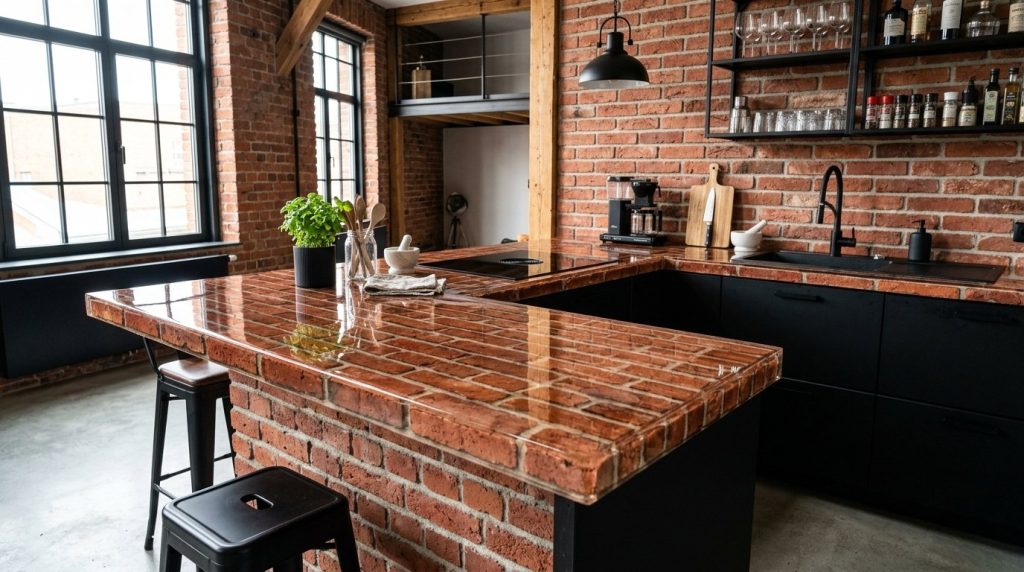
Thin brick veneers can be applied to a counter and sealed with a high-gloss epoxy for a “lofty” industrial look. This is a bold choice that works well in kitchens with high ceilings or exposed pipes. I saw this in a renovated warehouse apartment, and the warmth of the red brick was incredible. Materials for a standard counter run about $200.
You must use a self-leveling clear epoxy over the brick to create a flat, sanitary surface for food prep. This is a messy three-day project. Many people assume brick is too rough for a counter, but the epoxy layer solves that problem completely. The only catch is that the epoxy can yellow over time if exposed to direct, heavy sunlight, so consider your window placement.
17. Microcement Coating
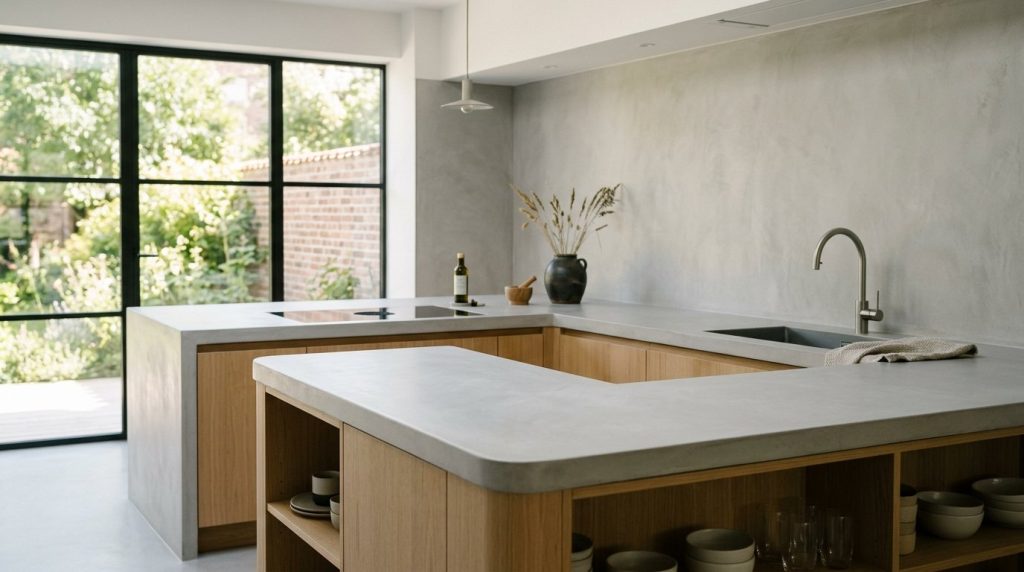
Microcement is a polymer-modified cement that can be applied very thinly over almost any surface. It is waterproof and doesn’t require the heavy sanding that traditional concrete does. I’ve seen this used to cover old tile counters perfectly, hiding the grout lines entirely. It creates a seamless kitchen countertop styling that looks like a single piece of custom-poured stone.
Apply the microcement in two thin coats using a flexible steel trowel. This project takes about two days and costs roughly $150 for a professional-grade kit. A common mistake is not applying the primer first; without it, the cement may peel off the laminate. Microcement is incredibly flexible and won’t crack like traditional concrete, making it worth the slightly higher price of the mix.
18. Marine Grade Plywood
High-quality marine plywood has beautiful, tight grain and is designed to withstand constant moisture. When sanded to a high grit and sealed with several layers of tung oil, it looks like a high-end Scandinavian designer piece. I once used this for a modern studio kitchen, and the total cost for the wood was $110. It is a fantastic kitchen countertop design choice for those who love a minimalist, “clean” look.
You must seal all edges—including the underside—to prevent any moisture from seeping in. This is a one-day project for cutting and assembly, followed by several days of oiling. Some believe plywood is “cheap,” but marine grade is a structural powerhouse used in boat building. Just ensure you don’t use “construction grade” ply, as the voids in the middle will cause the edges to look ugly when cut.
19. Laminated Plywood Edges
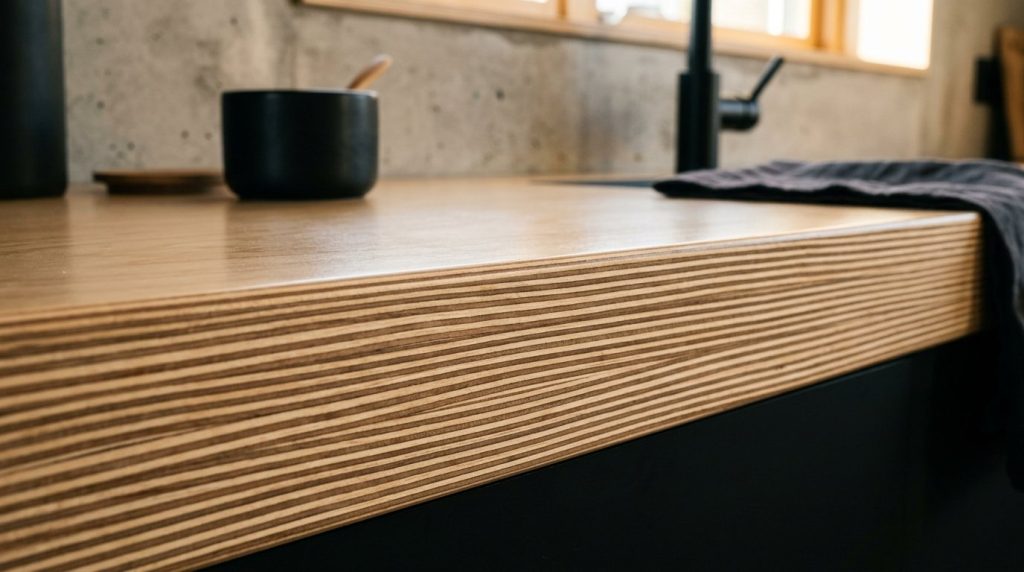
Instead of hiding the edges of plywood, you can turn them into a design feature by stacking layers and sanding them smooth. This “exposed edge” look is very popular in high-end modern furniture. I built a desk using this method, and the striped edge pattern was the best part of the piece. For a kitchen counter, it costs about $150 in materials and provides a unique kitchen countertop styling detail.
Use a router with a flush-trim bit to get the edges perfectly even before sanding. Expect to spend about eight hours on the assembly and finishing. A frequent mistake is using poor-quality glue that leaves dark lines between the wood layers. Use a clear-drying wood glue and plenty of clamps. This style is very durable but requires a very sharp saw blade to avoid “tear-out” on the delicate veneer layers.
20. Corian Remnants
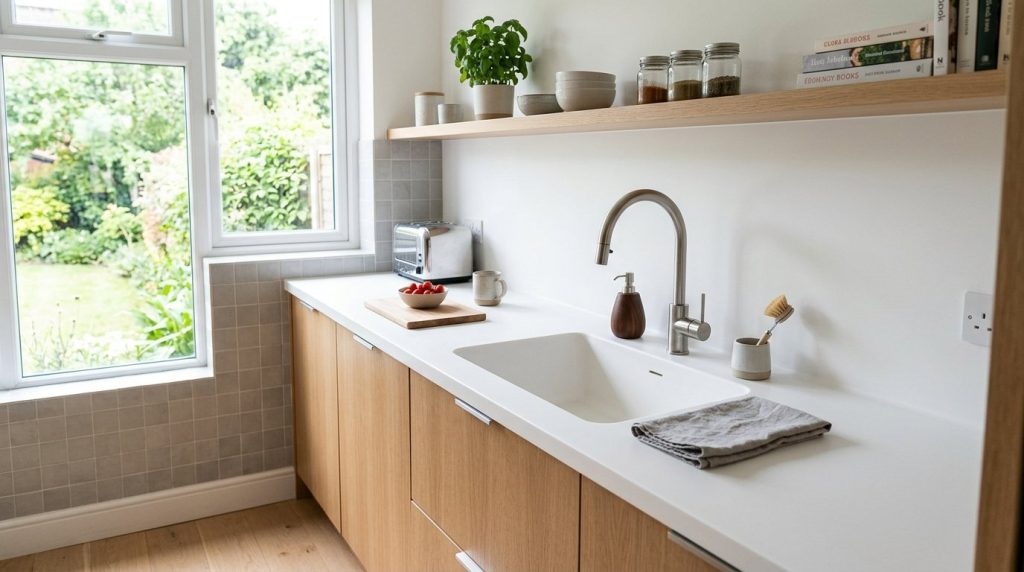
Solid surface materials like Corian are often discarded in large enough pieces to cover a small kitchen. Corian is non-porous and can be sanded to remove scratches, making it look new forever. I found a white Corian remnant for free on a local community board and only had to pay $50 for the specialized adhesive. It’s an ideal material for a bright, sanitary kitchen countertop arrangement.
You can cut Corian with standard woodworking tools, which makes it very DIY-friendly. Cutting and gluing will take about four to five hours. Some people think solid surface is “outdated,” but its ability to have “invisible” seams is a massive advantage over stone. Be sure to use the specific color-matched adhesive from the manufacturer, or the seams will show as thin yellow lines.
21. Zinc Sheet Wraps
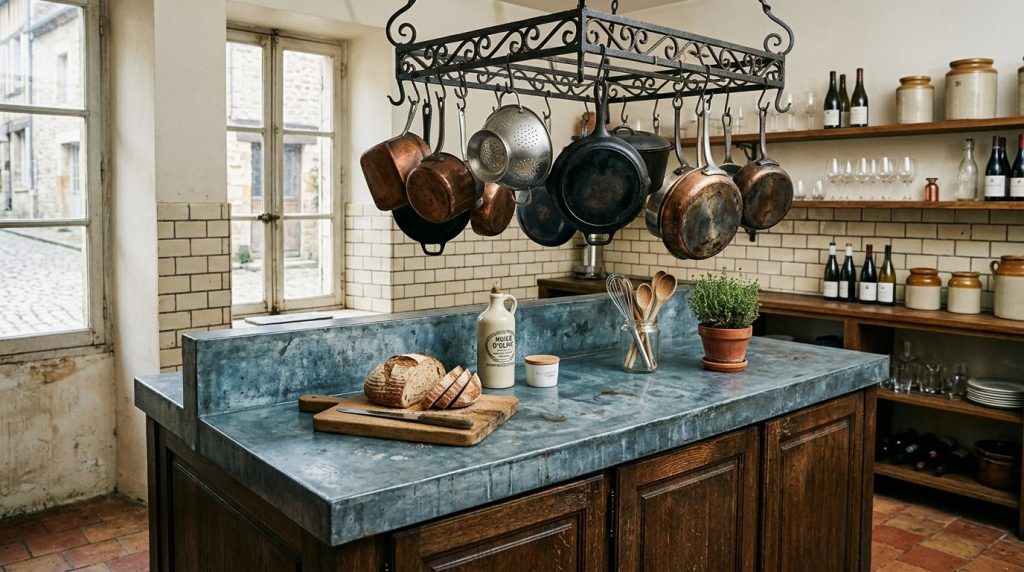
Zinc is a “living” metal that develops a beautiful blue-grey patina over time. It is much cheaper than copper but offers a similar metallic luxury. I recently saw a zinc counter in a bistro that looked better as it aged and got “beat up.” Buying a sheet of zinc costs about $200 and provides a classic European kitchen countertop design.
You can wrap the zinc over a plywood base and secure it with decorative brass nails at the edges. This project takes about six hours. A common mistake is trying to keep it perfectly shiny; zinc is meant to oxidize and change color. If you hate the “spotted” look that comes from water drops, this material is not for you. However, it is naturally antimicrobial, which is a huge plus for food safety.
22. Copper Flashing Details
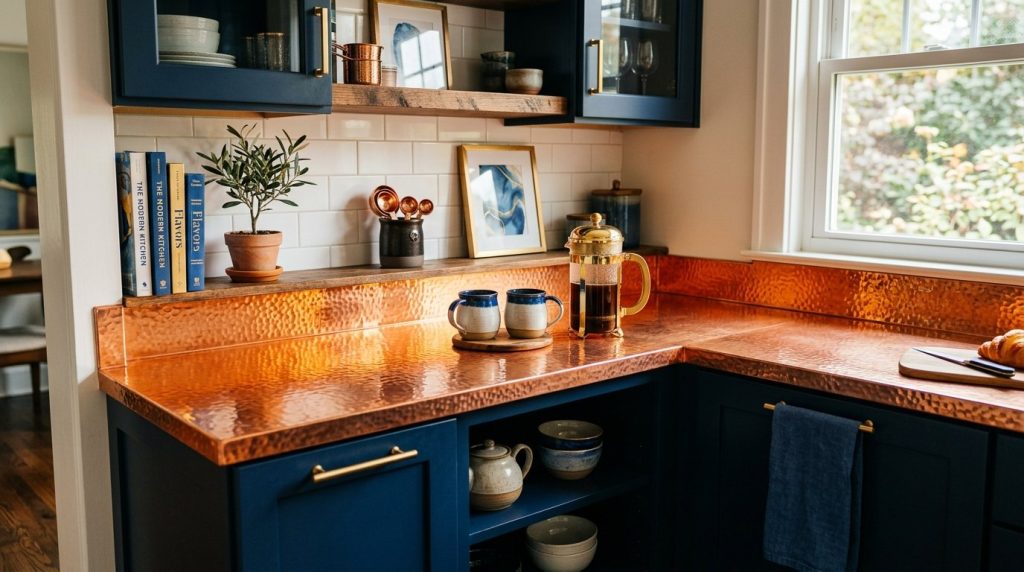
For a high-impact accent, you can use copper flashing (meant for roofing) to cover a small section of your counter. Copper adds a warm, glowing element to the kitchen countertop color ideas in your home. I used this on a small “coffee nook” and the total cost was only $35. It pairs beautifully with dark wood or navy blue cabinets for a high-contrast, expensive look.
Clean the copper with lemon juice and salt before sealing it with a clear lacquer to keep it bright. This is a quick two-hour DIY project. Some argue that copper is too soft for a main counter, and they are right—it will dent if you drop a heavy pot. Use it as a decorative inlay or for a secondary surface rather than the main prep area to keep it looking its best.
23. High-Gloss Enamel Paint
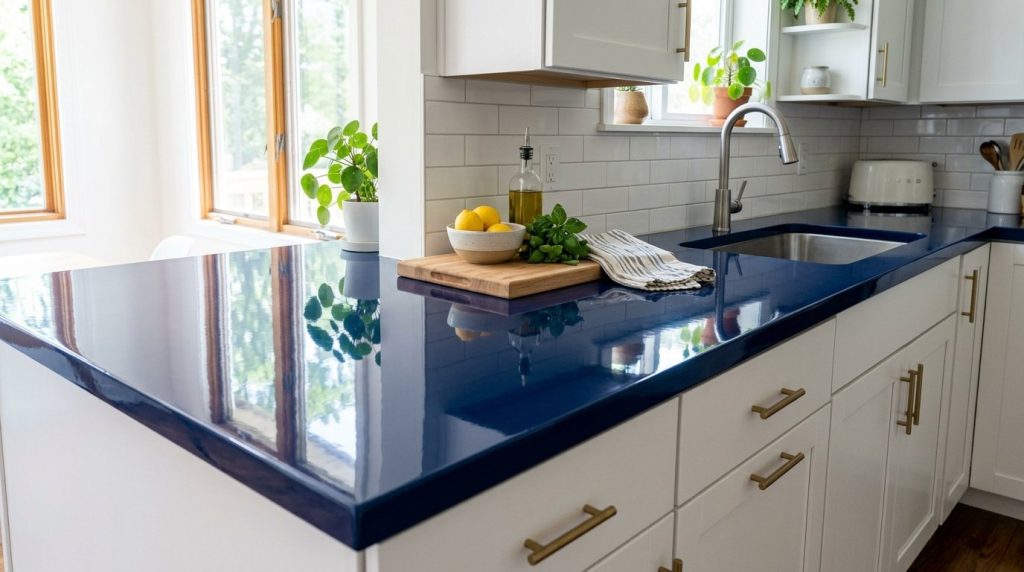
If your counters are in good structural shape but just an ugly color, a high-gloss oil-based enamel paint can work wonders. This is the absolute lowest-cost option, often coming in under $30 for a quart of paint. I’ve used this on old laminate in a workshop, and the finish was surprisingly tough. It’s a great “temporary” kitchen countertop styling fix that can last several years if treated well.
Sand the laminate with 220-grit paper first to give the paint something to “grab.” Applying the paint takes about two hours, but it needs a full week to cure before you put heavy appliances on it. A major mistake is using a brush; use a high-density foam roller to get a smooth, “factory-like” finish without brush strokes. This won’t handle direct heat, so keep those trivets handy at all times.
Frequently Asked Questions
What is the absolute cheapest way to update kitchen counters?
The cheapest method is using a high-gloss enamel paint or a peel-and-stick vinyl film. Both options typically cost under $100 for an entire kitchen. In my experience, these are best for renters or homeowners who need a quick fix while saving for a permanent renovation. While they aren’t as durable as stone, they can easily last 2–3 years with proper care. Always ensure the original surface is scrubbed with a degreaser like TSP before applying either paint or film, or the new finish will peel off within weeks.
Can I really put concrete over my old laminate counters?
Yes, using a product like Ardex Feather Finish allows you to apply a thin layer of concrete directly over laminate. It involves sanding the laminate to create a “key” for the concrete to bond to, then spreading the mix with a trowel. I have seen this last for many years when sealed correctly. The total cost is usually under $70 for the materials. The most critical part is the sealer; without a high-quality, food-safe stone sealer, the concrete will soak up oil and water, leading to permanent stains.
Are butcher block counters hard to maintain?
Butcher block is relatively easy to maintain but does require a commitment to oiling. You should apply food-safe mineral oil once a month for the first year, then every few months after that. If you notice the wood looking “thirsty” or light in color, it’s time for another coat. The biggest benefit is that you can sand out any scratches or burns and make the wood look brand new again. I’ve found that using a mix of beeswax and mineral oil provides a better water barrier than oil alone.
Which low-cost material is the most heat-resistant?
Stainless steel and large-format porcelain tiles are the most heat-resistant low-cost options. You can take a pot directly from the stove and place it on these surfaces without fear of melting or cracking. Concrete is also very heat-resistant but can sometimes crack if the temperature change is too extreme or if the sealer isn’t heat-rated. Avoid using vinyl film or epoxy near high-heat areas, as these are plastic-based and will melt at temperatures above 150 degrees Fahrenheit.
How long do DIY painted counters actually last?
If you use a high-quality kit like Giani and finish it with a two-part epoxy topcoat, painted counters can last 5–7 years. The secret to longevity is the curing time. Most people start using their counters too early. You should wait at least 24 hours before light use and a full 7–14 days before placing heavy items like microwaves or stand mixers on the surface. Without that full cure time, the paint remains soft and can be easily gouged or peeled.
Is it hard to install stainless steel counters myself?
It is not hard if you have the metal supplier pre-cut the sheets to your exact measurements. The “DIY” part involves applying construction adhesive to your old counters and using a J-roller to press the steel down firmly. Bending the edges around the front of the counter is the most difficult part and may require a metal brake or a very steady hand with a rubber mallet. I recommend starting with a small area, like a kitchen island, before attempting a full wrap of the perimeter counters.
Do I need special tools for these projects?
Most of these ideas only require basic tools like a sander, a paint roller, a level, and a utility knife. For more advanced projects like large-format tile or concrete, you may need to rent a tile saw or buy a specialized trowel. However, compared to the thousands of dollars saved on professional labor, spending $50 on a new tool is a great investment. Always wear a mask when sanding old laminate or concrete, as the dust can be irritating to your lungs.
How do I hide the seams on a DIY counter?
For stone-look projects, using a color-matched grout or epoxy is key. For wood or bamboo, ensure your cuts are perfectly square and use a high-quality wood filler before sanding. In my experience, the best way to hide seams is to plan your layout so that the seams fall at the sink or behind an appliance where they are less visible. If you are using a solid surface remnant, you can buy a specialized seam adhesive that chemically bonds the two pieces together, making the joint virtually invisible.
Will these cheap updates hurt my home’s resale value?
If done neatly, a $100 update that looks like stone will always be better for resale than a stained, dated 1980s laminate counter. Buyers appreciate a clean, modern aesthetic. However, a “sloppy” DIY job with visible brush strokes or peeling edges can be a red flag. The goal is to choose a method that matches your skill level. If you aren’t confident in your painting skills, go with a pre-cut butcher block or a stainless steel wrap, which are harder to mess up.
Can I put new tile directly over old tile?
You can, but it is not recommended because it adds too much height and can make your counters feel unusually tall. It also makes the edges look very thick and “clunky.” It is much better to spend an afternoon demoing the old tile and installing a fresh cement backer board. This ensures a level surface and a professional-looking finish. If you must go over old tile, use a “thin-set” designed specifically for tile-over-tile applications to ensure a strong bond.
Are penny counters hard to keep clean?
The cleaning difficulty depends entirely on the grout. If you use traditional cement grout, the many lines can trap dirt and stains. However, if you use a high-gloss epoxy grout or pour a clear epoxy resin over the entire surface, it becomes as smooth and easy to clean as a sheet of glass. I always recommend the epoxy pour for penny counters because it levels the surface and protects the copper from tarnishing over time.
Where is the best place to find cheap materials?
Check local “ReStore” shops (Habitat for Humanity), Facebook Marketplace, and the “oops” paint shelf at hardware stores. Masonry yards and stone fabricators are also gold mines for remnants. I once found enough marble tile for a small kitchen for $20 because the box was slightly damaged. Being flexible with your color choice and willing to hunt for deals can easily cut your project cost in half. Don’t be afraid to ask for “scraps” or “offcuts” at local wood shops.
I’ve seen how small changes like these can completely transform a space, turning a kitchen you hate into one you truly enjoy spending time in. You don’t need a professional contractor or a five-figure budget to get a high-end look. By choosing one of these 23 low-cost kitchen countertop ideas, you can take control of your home’s aesthetic this weekend. Whether you go with the warmth of wood or the sleekness of stainless steel, the most important step is simply to start. Save this post on Pinterest so you can reference these costs and steps when you’re at the hardware store, and pick one idea to try in your own space today!